JavaScript Tag Guide
When you implement Intilery, you add Intilery code to your website, app, or server. This code generates messages based on specific triggers you define.
In the simplest implementation, the code can be a snippet of JavaScript that you copy and paste into the HTML of a website to track page views and customer behaviours.
This tag is based on the Segment javascript analytics tag it has been extended to work in a multinational audience, multiple accounts and brands, along with additional capabilities for personalisation.
Before you begin#
The full reference of analytics.js (the tag) can be found here Analytics.js
Client Key(s) / Write Key(s)#
Client Key(s) are unique to each Client and Account, the client key for your account(s) are included in the tag snippet within the application. in the tag section.
Client Key(s) are referred to as Write Key(s) in the mobile SDK.
Your Client Key (Write Key) can be found in the tag snippet on the analytics.load('xxxx') line, the value in the quotes is your Client Key / Write Key
Note: If you have multiple accounts with Intilery, each tag has a seperate client key, obtain the tag snippet for each account by switching between accounts when you log in to Intilery.
Installing Intilery
Step 1: Copy the Snippet#
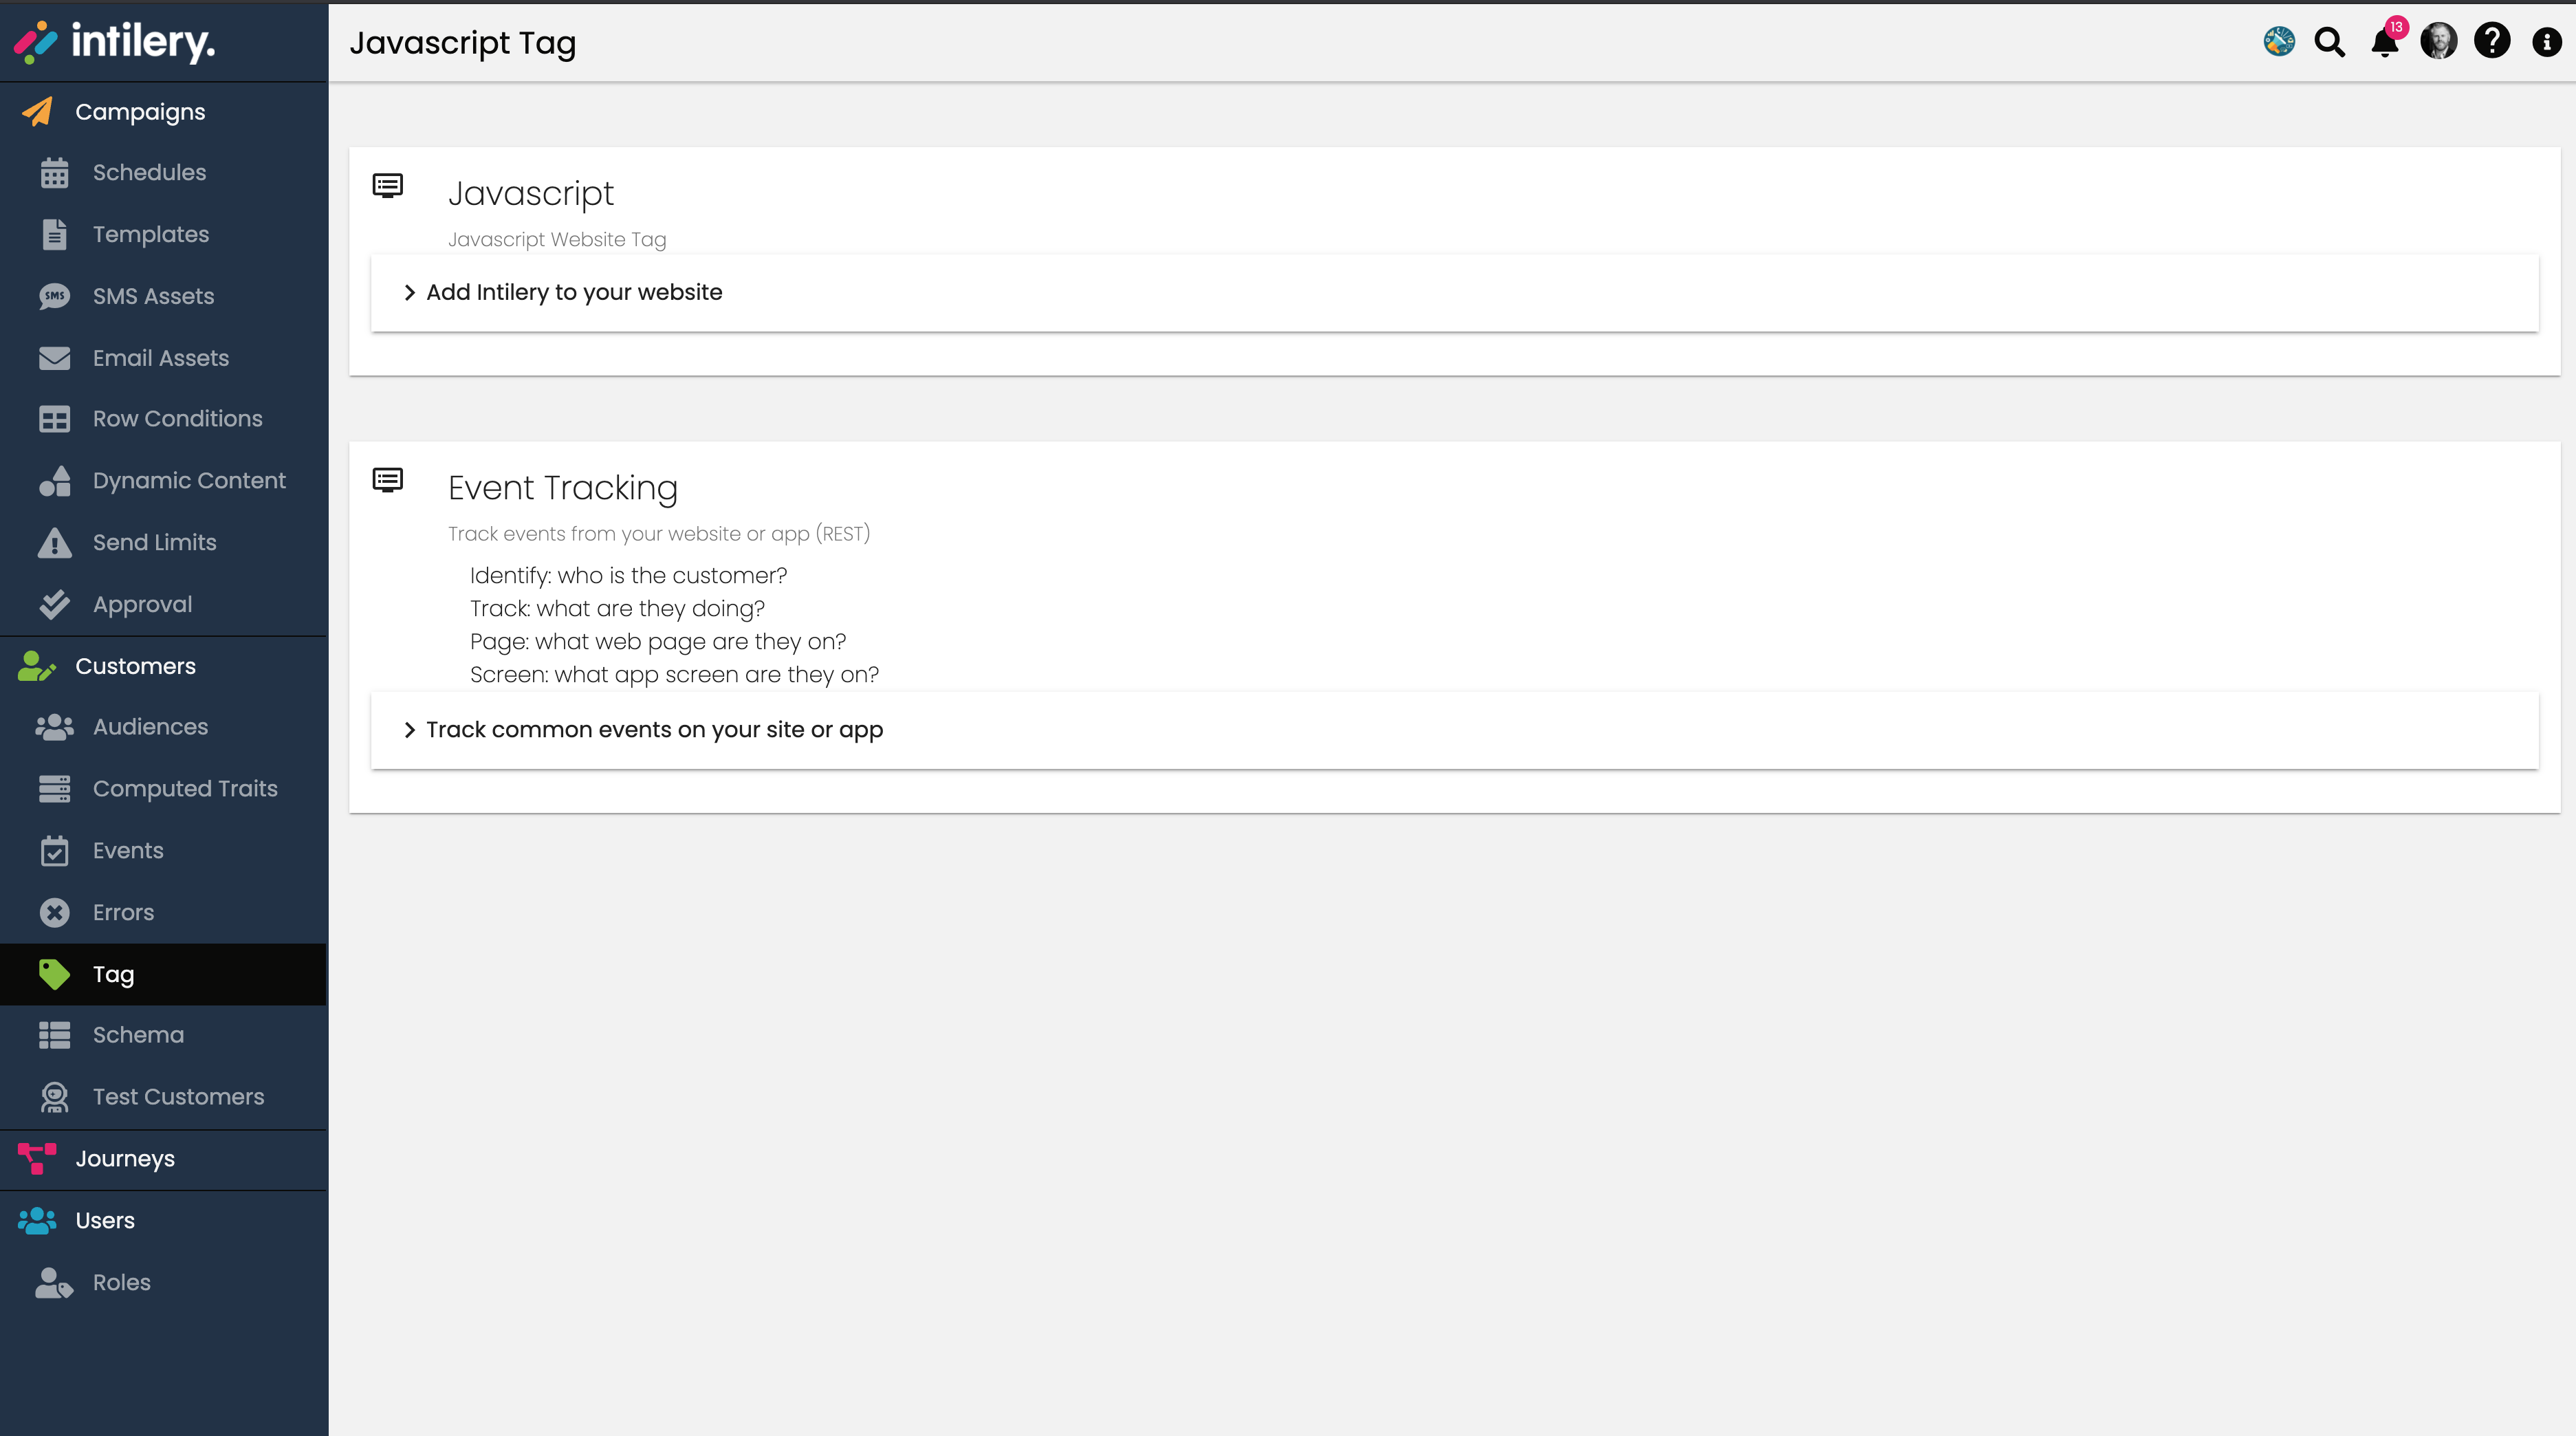
Installing Intilery is easy, just paste the snippet from the JavaScript Tag within the tag page in the Intilery app, an screenshot of the tag page is shown below.
That snippet loads analytics.js onto the page asynchronously, so it won’t affect your page load speed. Once the snippet is running on your site it will record page views and any other events you define.
Note: This tag will call the “page” (page view) function once the tag is loaded.
Tag Managers#
To add the Intilery tag to your site using a tag manager, such as google tag manager, add a HTML type tag and copy the code snippet above into it, deploy the tag to all pages.
Step 2: Identify Customers#
The identify method is how you tell Intilery who the current user is. It includes a unique User ID, and any optional traits you know about them. You can read more about it in the identify method reference, examples of the identify event are also included on the tag page in the Intilery app.
Note: You don’t need to call identify for anonymous visitors to your site. Intilery automatically assigns them an anonymousId, so just calling page and track works just fine without identify.
The format of the javascript identify event is: -
analytics.identify([userId], [traits], [options], [callback]);Here’s what a basic call to identify might look like:
analytics.identify({ nickname: 'Joe Bloggs', favoriteCompiler: 'A-0', industry: 'Computer Science'});In this case, you have added traits to the current user (customer) but have not provided an personal data, identifiers or a userID yet.
A call to identify a user with his details would look like the following
analytics.identify('123456', { firstName: 'Joe', lastName: 'Bloggs', email: 'joe.bloggs@example.com', "marketingPreferences": { "channels": [ { "channel": "email", "subscribed": true }, { "channel": "sms", "subscribed": true }, { "channel": "whatsapp", "subscribed": false }, { "channel": "facebook", "subscribed": false }, { "channel": "push", "subscribed": false } ] }});That identifies Joe by his unique User ID (in this case, 123456, which is what you know him by in your database) and labels him with name and email traits.
Note: A userID is required for your customers, though this can be the email address if required, in which case the userID is the same as the email, though the email must still be passed in as trait
Example with email as the userID
analytics.identify('joe.bloggs@example.com', { firstName: 'Joe', lastName: 'Bloggs', email: 'joe.bloggs@example.com', "marketingPreferences": { "channels": [ { "channel": "email", "subscribed": true }, { "channel": "sms", "subscribed": true }, { "channel": "whatsapp", "subscribed": false }, { "channel": "facebook", "subscribed": false }, { "channel": "push", "subscribed": false } ] }});Note: Marketing subscription preferences must be declared in the "marketingPreferences" cutomer trait in the format shown above.
Note: The customer can have whatever traits you wish to define, these can be simple JSON types, arrays of types. arrays of objects or objects. For arrays of objects it is best to ensure each object in the array is of the same type/structure.
Example with multiple traits
analytics.identify('joe.bloggs@example.com', { firstName: 'Joe', lastName: 'Bloggs', email: 'joe.bloggs@example.com', car: { make:'Tesla', model:'X' }, claims: [ { claimID:'abcdef', value:1234.56 }, { claimID:'opqr', value:99.99 } ], pets:[ 'butch', 'cassidy' ], "marketingPreferences": { "channels": [ { "channel": "email", "subscribed": true }, { "channel": "sms", "subscribed": true }, { "channel": "whatsapp", "subscribed": false }, { "channel": "facebook", "subscribed": false }, { "channel": "push", "subscribed": false } ] }});Hold up though! When you actually put that code on your site, you need to replace those hard-coded trait values with the variables that represent the details of the currently logged-in user.
To do that, we recommend that you use a backend template to inject an identify call into the footer of every page of your site where the user is logged in. That way, no matter what page the user first lands on, they will always be identified. You don’t need to call identify if your unique identifier (userId) is not known. If this is not possible, the identify event should be triggered on user registration and login.
Depending on your templating language, your actual identify call might look something like this:
analytics.identify(' {{user.id}} ', { name: '{{user.fullname}}', email: '{{user.email}}' }); With that call in your page footer, you successfully identify every user that visits your site.
Customer Campaign#
The identify method automatically sends the campaign data for the current session, as set via UTM parameters in the URL, as detailed here common fields (see field campaign).
If the campaign is set on the current context, by including UTM paramters (utm_medium, utm_campaign etc.). a customer trait "campaign" will be created with these details.
The campaign trait is only set on the customer when the customer is initially recognised, either as a known customer or an anonymous visitor, in which case the campaign value is copied over from the visitor to the customer
Step 3: Track Actions#
The track method is how you tell Intilery about the actions your users are performing on your site. Every action triggers what we call an “event”, which can also have associated properties. You can read more about track in the track method reference.
Here’s what a call to track might look like when a user signs up:
analytics.track('View Claim', { claim: { claimID:'abcdef', value:1234.56 }}); That’s just telling us that your user just triggered the View Claim event and along with details of the claim viewed. Properties can be anything you want to record, for example:
analytics.track('Article Bookmarked', { title: 'Snow Fall', subtitle: 'The Avalanche at Tunnel Creek', author: 'John Branch' }); If you’re just getting started, some of the events you should track are events that indicate the success of your site, like Signed Up, Item Purchased or Article Bookmarked.
Note: Events for core schema's can be found in the [/schema/contents](Schema Section) you should choose an industry specific schema and implement those events if possible.
Note: Any event can be sent with any properties, using a core schema saves you having to work out the event names and properties yourself.
The properties passed in with the events can be simple properties or nested objects
Once you add a few track calls, you’re done with this tutorial!
Note: Events are displayed in the Events section on the Intilery app, along with validation.
You successfully installed analytics.js tracking.